Search Website
Communication
1. On your course homepage, use the dropdown menu on the Announcements widget and select "Go to Announcement Tools." Alternatively, under Communications, select Announcements from your course's navigation bar.
2. Click to create a new announcement.
3. On the New Announcement page, locate the Additional Release Conditions section and select "Create and Attach."
4. A new window will pop up, allowing you to create a release condition.
5. Under Condition Type, choose "Role in Current Org Unit" from the Classlist subdivision.
6. In the Criteria section, select "Enrolled as," then choose the specific role, such as "Learner" for students.
7. Click the "Create" button.
8. Complete your announcement and then publish it.
Video Demo:
At Western, Student Numbers and Employee numbers are the same. Both Student Numbers and Employee Numbers are considered sensitive data at Western and should only be displayed when absolutely required. In order to prevent Student Numbers/Employee Numbers from being displayed for non-learners in OWL Brightspace, Student Numbers are not displayed by default.
If you need to include student numbers in your course, you can upload a list that contains both user IDs and student numbers using the Extranet. Follow these steps to upload the list through the Grades tool as a text grade:
1. Navigate to the Grades tool.
2. Under the "Enter Grades" tab, click the "Export to SIS" button.
3. Log in to Extranet.
4. From the sidebar, select "OWL Grade Submission."
5. Choose your course.
6. Click the blue "Download Classlist" button located at the top of the page.
7. Return to the Grades tool in OWL Brightspace.
8. Click "Import" and then "Choose File" to browse for the Classlist file that you downloaded in the previous step.
9. Check the box to ‘Create new Grade Item when an Unrecognized Item is Encountered.’
10. Click "Continue."
11. Review any errors that may appear.
12. Confirm that the imported item is labelled as Student Number and that ‘Create New Grade Item’ and ‘Text’ are selected.
13. Click "Continue" again.
14. Finally, click "Import."
You should now see a text column containing the Student Numbers for each student in the Grades tool.
You can choose to "dismiss" announcements to prevent them from appearing in the Announcements widget on the course homepage. However, doing this won't remove them completely from the Announcements tool. Here are two options to remove them without losing the announcement completely:
1. Make a copy of the announcement and save it as a draft. Then delete the original.
2. Add an end date to the announcement to mark it as "Expired". This will hide it from students in both the widget and the Announcements tool.
You can use the Discussions tool to create a one-on-one communication space with your students.
Select "Single User, member-specific groups" in the Enrolment type, and then enable "Set up discussion areas" to communicate with learners.
By setting up "Single User, member-specific groups", you can communicate directly with each student without having to use emails.
Video Demo (Please make sure your YouTube video quality settings are set to high; otherwise, the video will appear blurry):
Related support document: Single user, member-specific groups
To receive a detailed copy of all emails you send in OWL Brightspace, follow these steps:
1. Log in to your OWL Brightspace account and click on the personal settings icon (it has your name on it) located at the top right corner to the left of the gear icon.
2. From the list of options, select "Account Settings."
3. On the toolbar at the top, choose "Email."
4. Finally, tick the box that says "Send a copy of each outgoing message to (Your email address)" under Email options.
Note: Activating this setting will not include email copies sent prior.
You can utilize the Groups and Calendar tools in OWL Brightspace to set up a scheduling system for your students to book a meeting with you. This method can be used to create either a one-on-one appointment or a drop-in style for multiple students.
Below are the steps for setting up group office hours and creating calendar invites with Zoom links:
Step 1: Create Groups
- Log in to OWL Brightspace
- In the navigation bar, go to Communication and select Groups.
- Set up groups with limited enrollment to allow a specific number of students to join. For example, if you have 5 office hour slots, create 5 groups named after each time slot and set the enrollment limit to 1 (or more if you're okay with having multiple students in one slot).
- On the navigation bar, click on Calendar.
- Select Create Event on the Calendar page.
- Enter a name for the event, for example, "One-on-One with Your Instructor," and add a description if needed.
- Under the Attendees option, choose the group(s) you created earlier.
- Select the time for the event or set it to reoccur regularly. You can also add restrictions like making it visible a certain number of days before the event starts.
- Finally, add your meeting link in the location space and then create.
Video Demo (Please make sure your YouTube video quality settings are set to high; otherwise, the video will appear blurry):
1. If you want students to submit files for grading, please consider using the Assignment tool.
2. If you need a file-sharing space with students, you can consider using the Groups tool. Here's how to set it up:
c. Save your settings.
Import group enrollments using a CSV or TXT file containing user enrollment data. You can manually create files to import or use the downloadable CSV template provided on the Import page in the Groups tool. Click the View instructions on creating your CSV file link to view file formatting, required and optional fields, and available actions.
Before you begin
- -Ensure all learners included in the CSV file are currently enrolled in the course.
- -You can enroll and unenroll learners in multiple groups of a category with one file, but each line must reference a single learner and group action.
- -You can only run one import process at a time. Once initiated, cancelling the import process does not undo actions already completed.
- -Prepare a CSV file according to the instructions provided on the Import page. Please note that the CSV file should not include headings for the various fields. For example, instead of indicating 'Group Name', include the actual name of the group (for instance, 'Group 1').
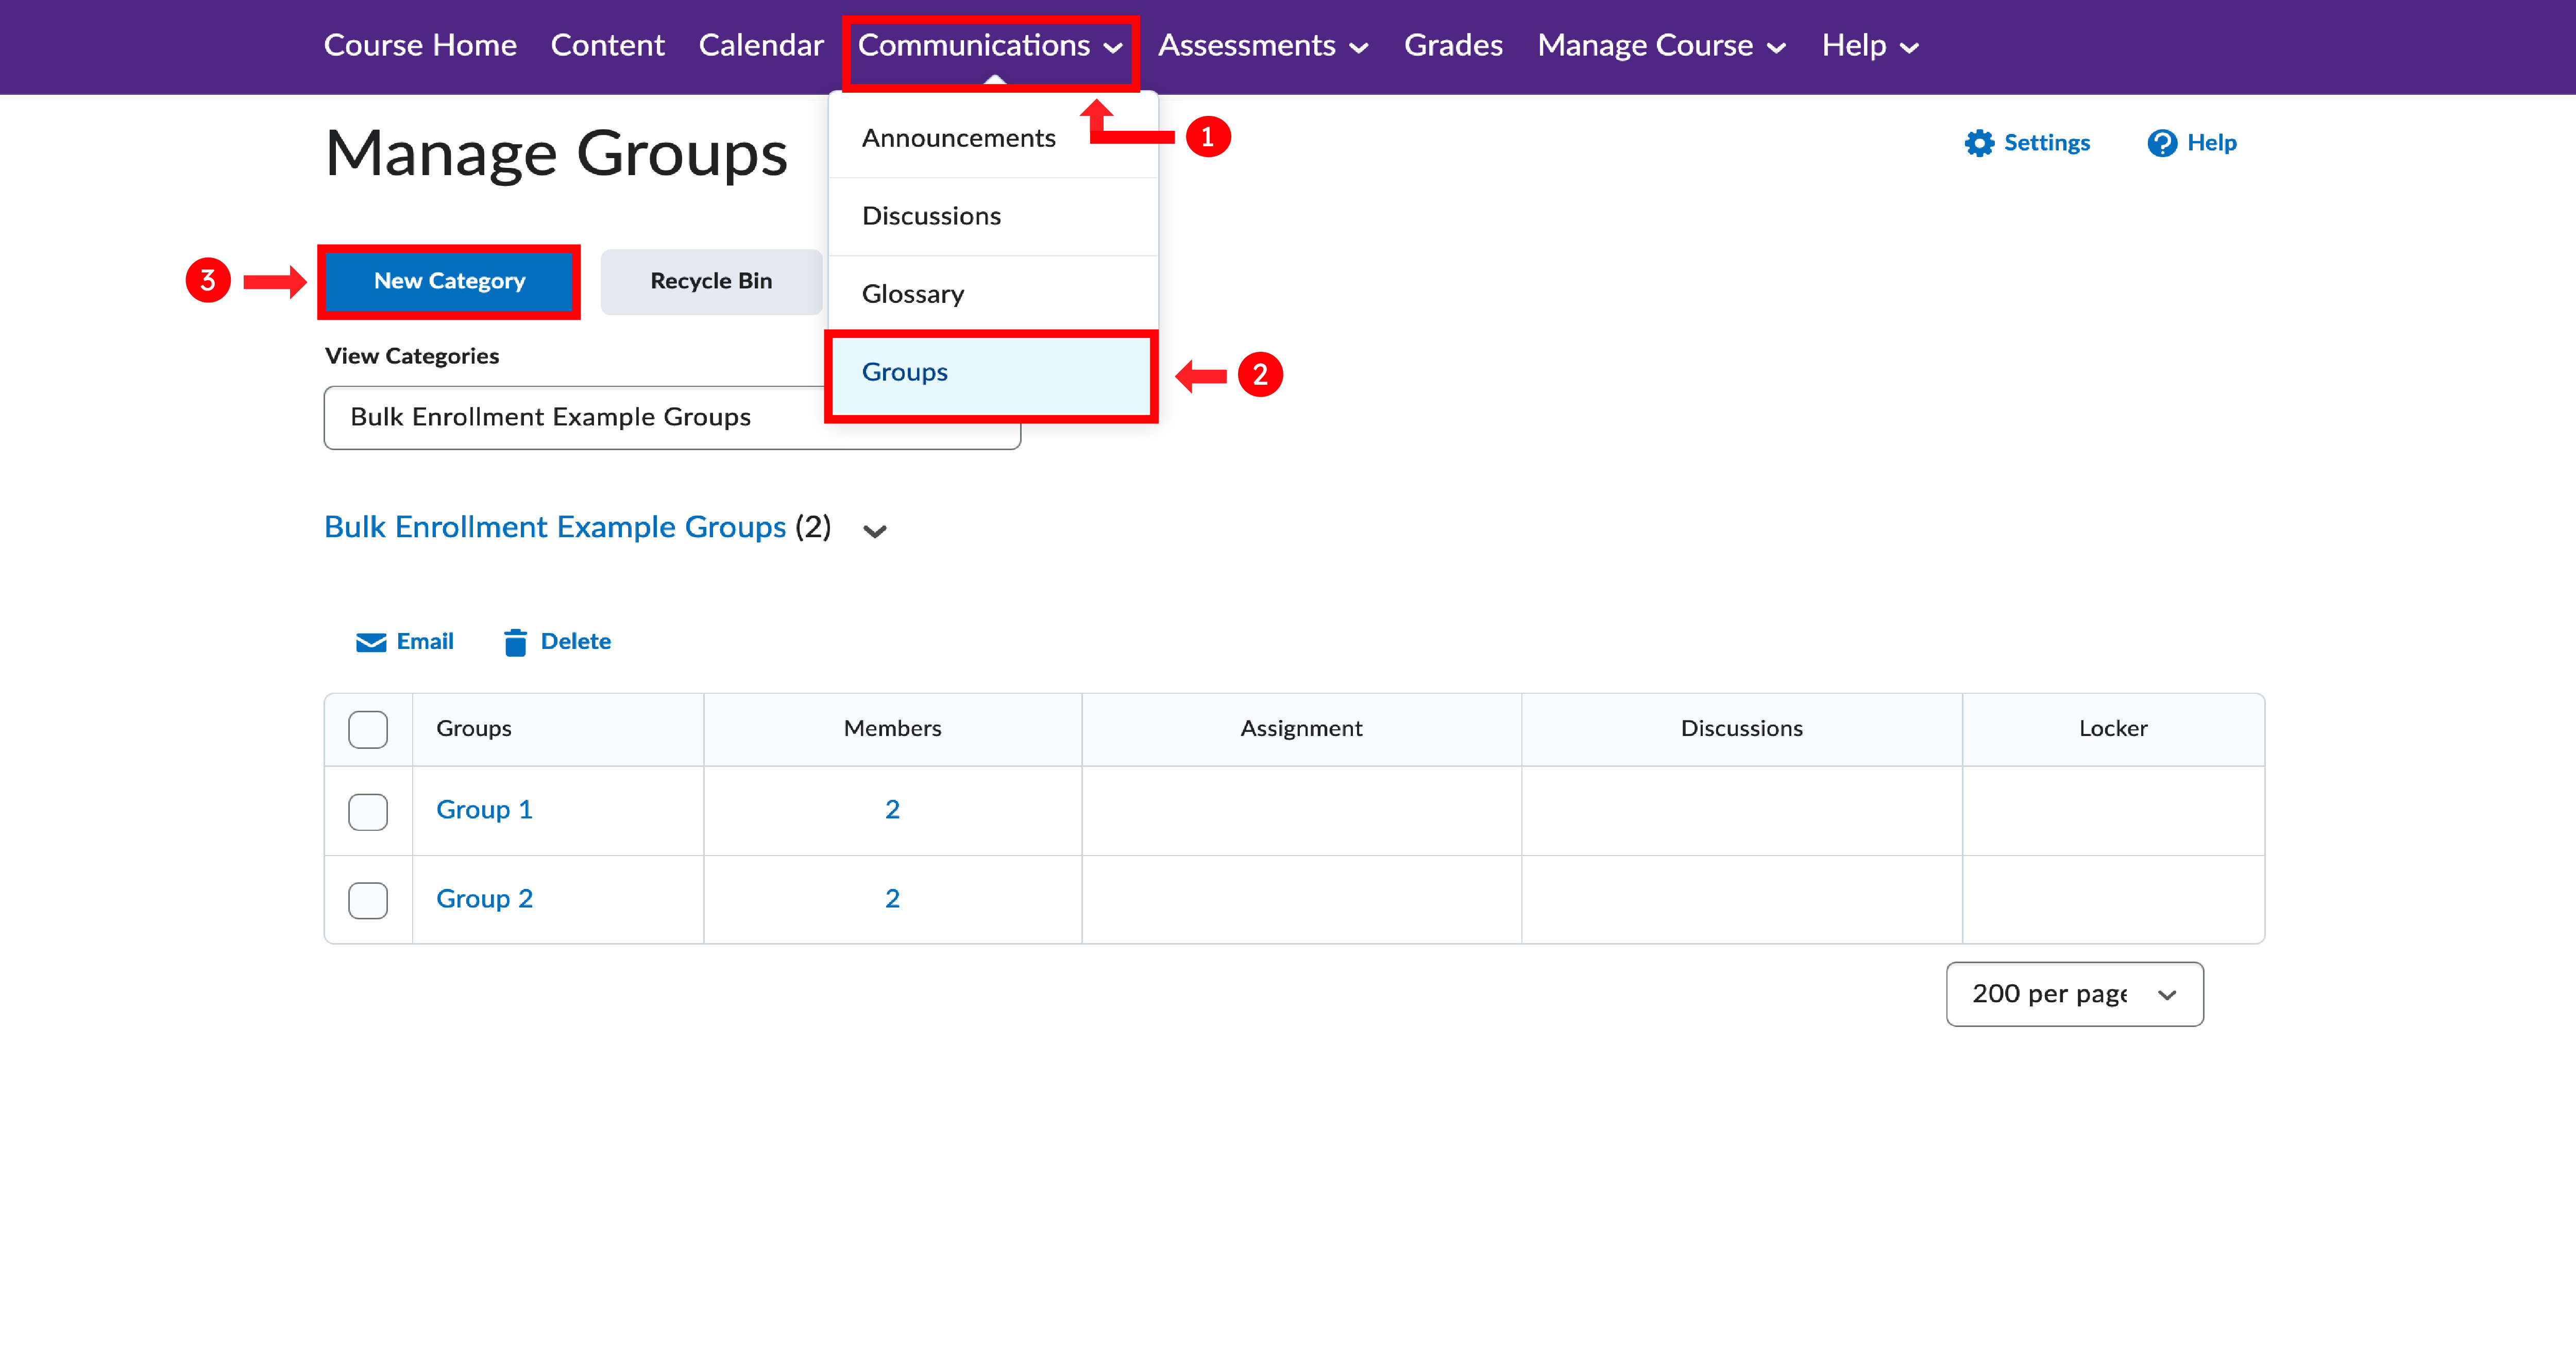
To import a CSV file of groups enrollment updates
-
On the Manage Groups page, do one of the following:
- Click Import from the page toolbar.
OR - From the Category drop-down menu, select Import.
- Click Import from the page toolbar.
- Follow the on-screen instructions to prepare your CSV file. Click Download template CSV to use the provided template.
- Save your file to a folder on your device.
- Select a category from the Select Category drop-down.
- Click Choose File to browse to the location of your CSV file.
- Click Import File.
- Note: The system checks your file and provides feedback. If the file is valid, the actions are applied and a summary displays. If errors are detected, the process halts and an error list appears.
- After the process completes, do one of the following:
- Click Exit.
OR - Click See Import Results.
- Click Exit.
Your enrollment changes to groups take effect immediately.
Credit: D2L Brightspace Community